A claw clip is a hinged hair accessory designed to secure a twist, bun, half-up section, or swept-back style with interlocking teeth. Learning how to wear a claw clip is less about mastering one perfect twist and more about matching the clip's size and grip to the amount of hair it needs to hold.
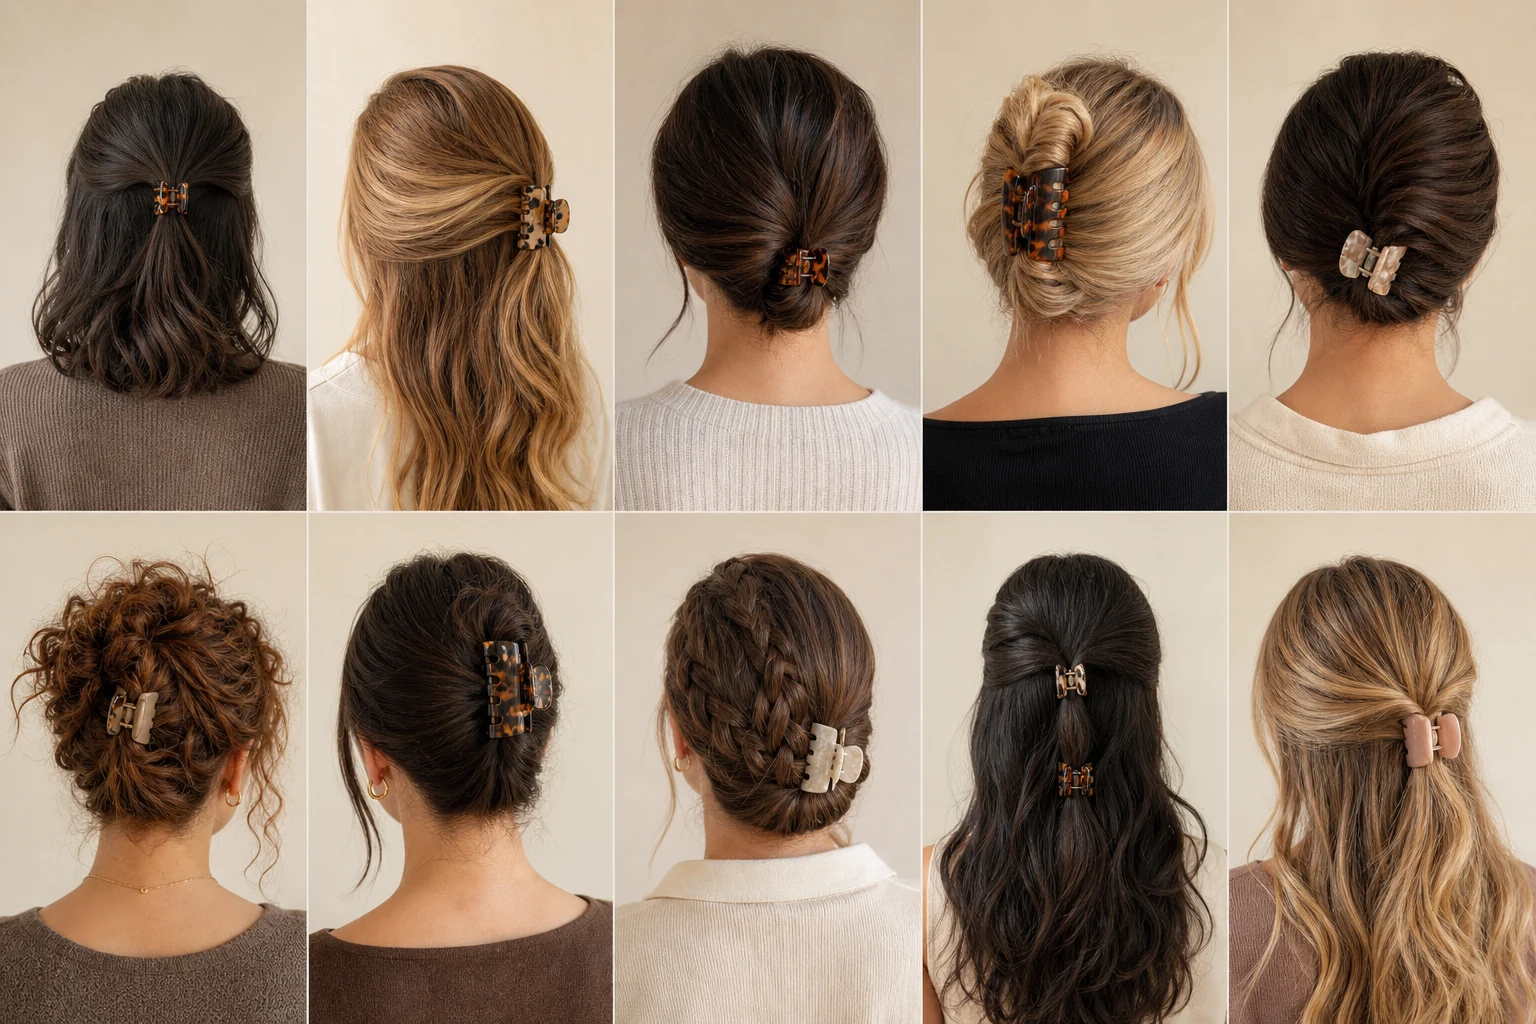
The ten styles below cover short, medium, and long hair without requiring heat tools or complicated braiding skills. Each tutorial can be completed in a few steps, and most are easy to loosen or reposition during the day. The result should feel balanced and secure rather than tight against the scalp.
Before You Start: Choose the Right Claw Clip
A successful style begins with capacity. A clip that is too small may catch only the outer layer and slide open; one that is unnecessarily large may sit away from the head. Length is a useful starting point, but hair density, texture, tooth spacing, curvature, and spring tension also affect the hold.
The terms claw clip and jaw clip are often used interchangeably, while barrettes use a different fastening mechanism. The guide to claw clips, jaw clips, and barrettes explains which construction works best for different styles.
The following table offers a practical starting point rather than a fixed sizing rule.
| Hair Length or Use | Suggested Clip | Useful Feature |
|---|---|---|
| Short or side sections | Mini, 2–5 cm | Closely spaced teeth |
| Shoulder-length hair | Medium, 6–9 cm | Curved profile |
| Long or dense hair | Large, 10–13 cm | Deep jaw capacity |
| Half-up styles | Small to medium | Moderate spring tension |
| Fine, slippery hair | Lightweight clip | More contact points |
Claw Clip Styles for Short Hair
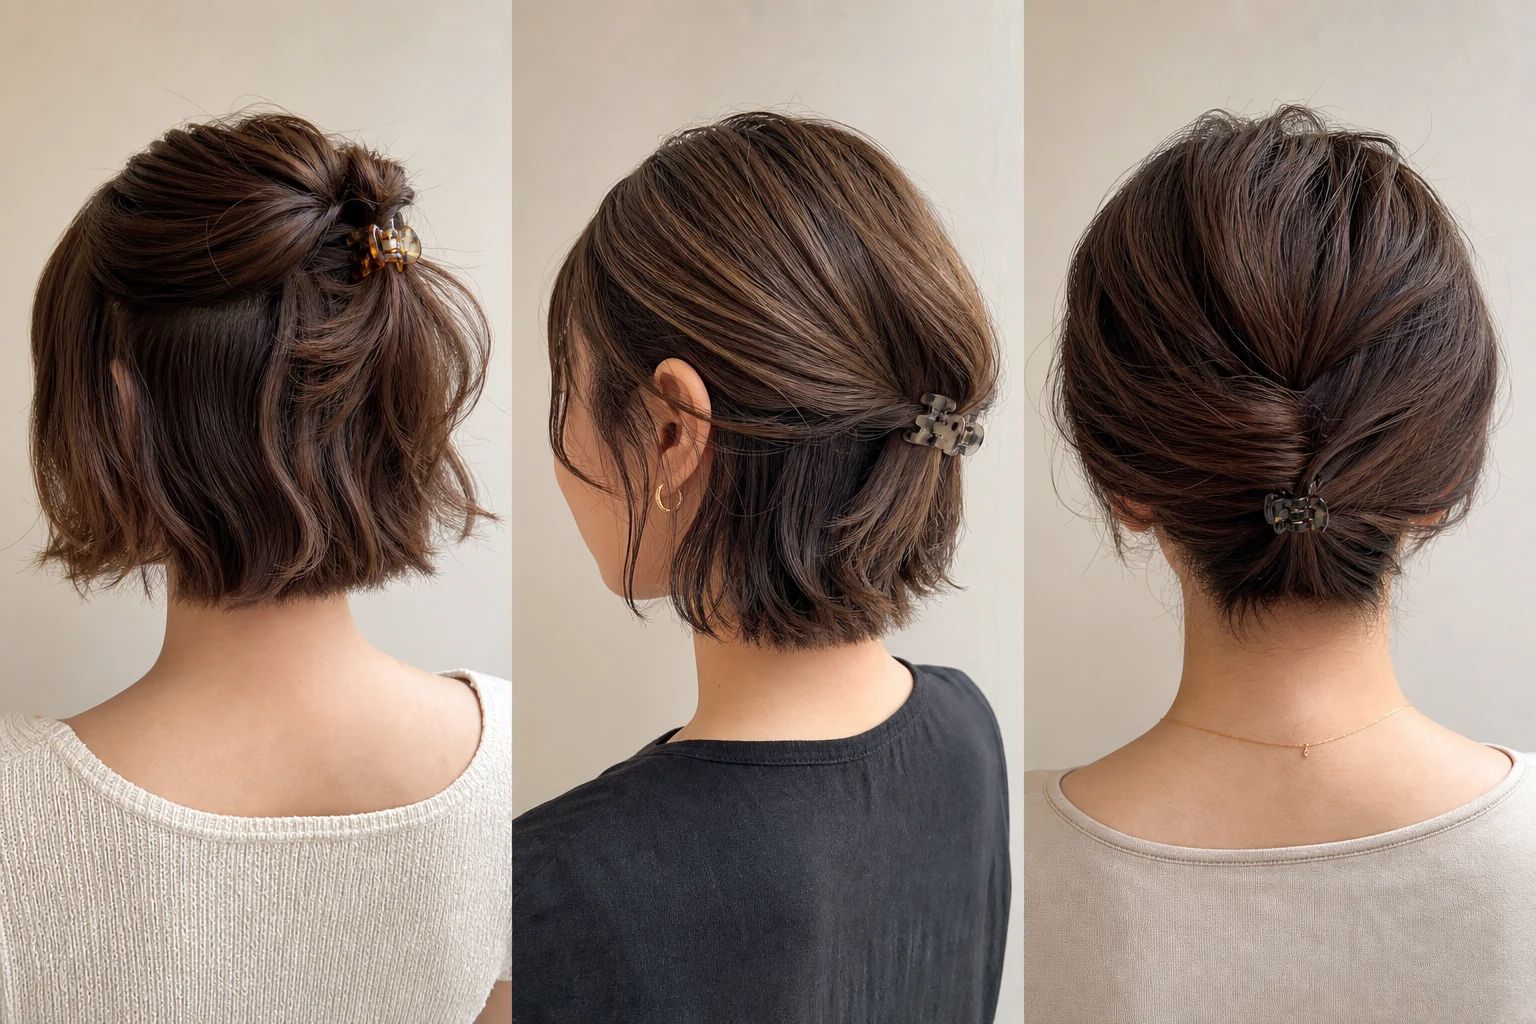
Short hair does not need to fit into one large clip. Smaller sections create a more reliable hold, especially when layers around the face or nape are not long enough to reach the centre. Mini clips also keep the accessory in proportion with the style.
1. Mini Half-Up Lift
- Take a section from each temple and bring both sections towards the back of the head.
- Rotate the joined section once to create a small lift at the crown.
- Place a mini claw clip vertically or horizontally across the twist.
2. Side-Swept Clip
- Create a side part and sweep the lighter side behind the ear.
- Twist that section away from the face once or twice.
- Secure it just above or behind the ear with a mini clip.
3. Mini Nape Twist
- Gather the longest hair at the nape as if making a very low ponytail.
- Twist the section upwards until the ends begin to fold inward.
- Close a compact claw clip across the twist and the hair underneath it.
Claw Clip Styles for Medium-Length Hair
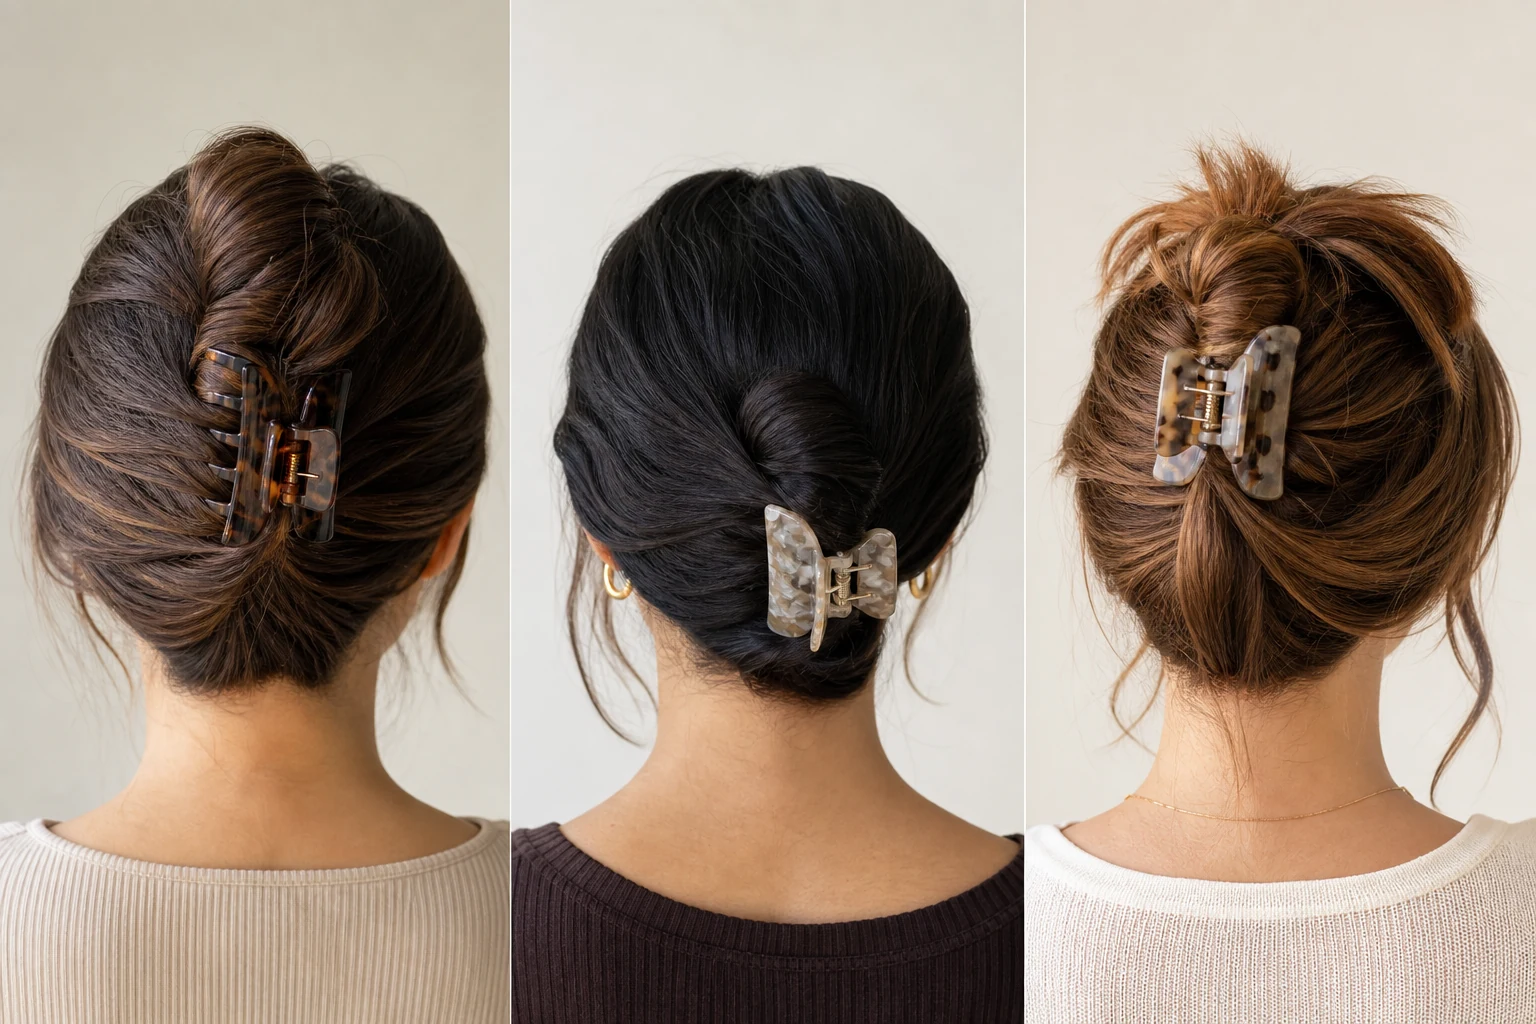
Shoulder-length hair can form a complete twist without producing a large bundle of ends. A medium, curved clip usually sits closer to the head than an oversized design.
4. Classic French Twist
- Gather the hair into a low ponytail without adding an elastic.
- Twist the length upwards and lay the twist vertically against the back of the head.
- Fold loose ends down behind the twist, then close the clip across its centre.
5. Low Rolled Twist
- Gather the hair at the nape and twist it in one direction.
- Roll the twist sideways into a compact oval, keeping it low.
- Secure the roll horizontally with the teeth catching hair above and below it.
6. Easy Messy Bun Clip
- Twist the hair into a loose rope and coil it once around its base.
- Leave the last few centimetres uncoiled for an intentionally relaxed finish.
- Place the clip over one side of the bun and anchor it to the hair near the scalp.
Claw Clip Styles for Long or Thick Hair
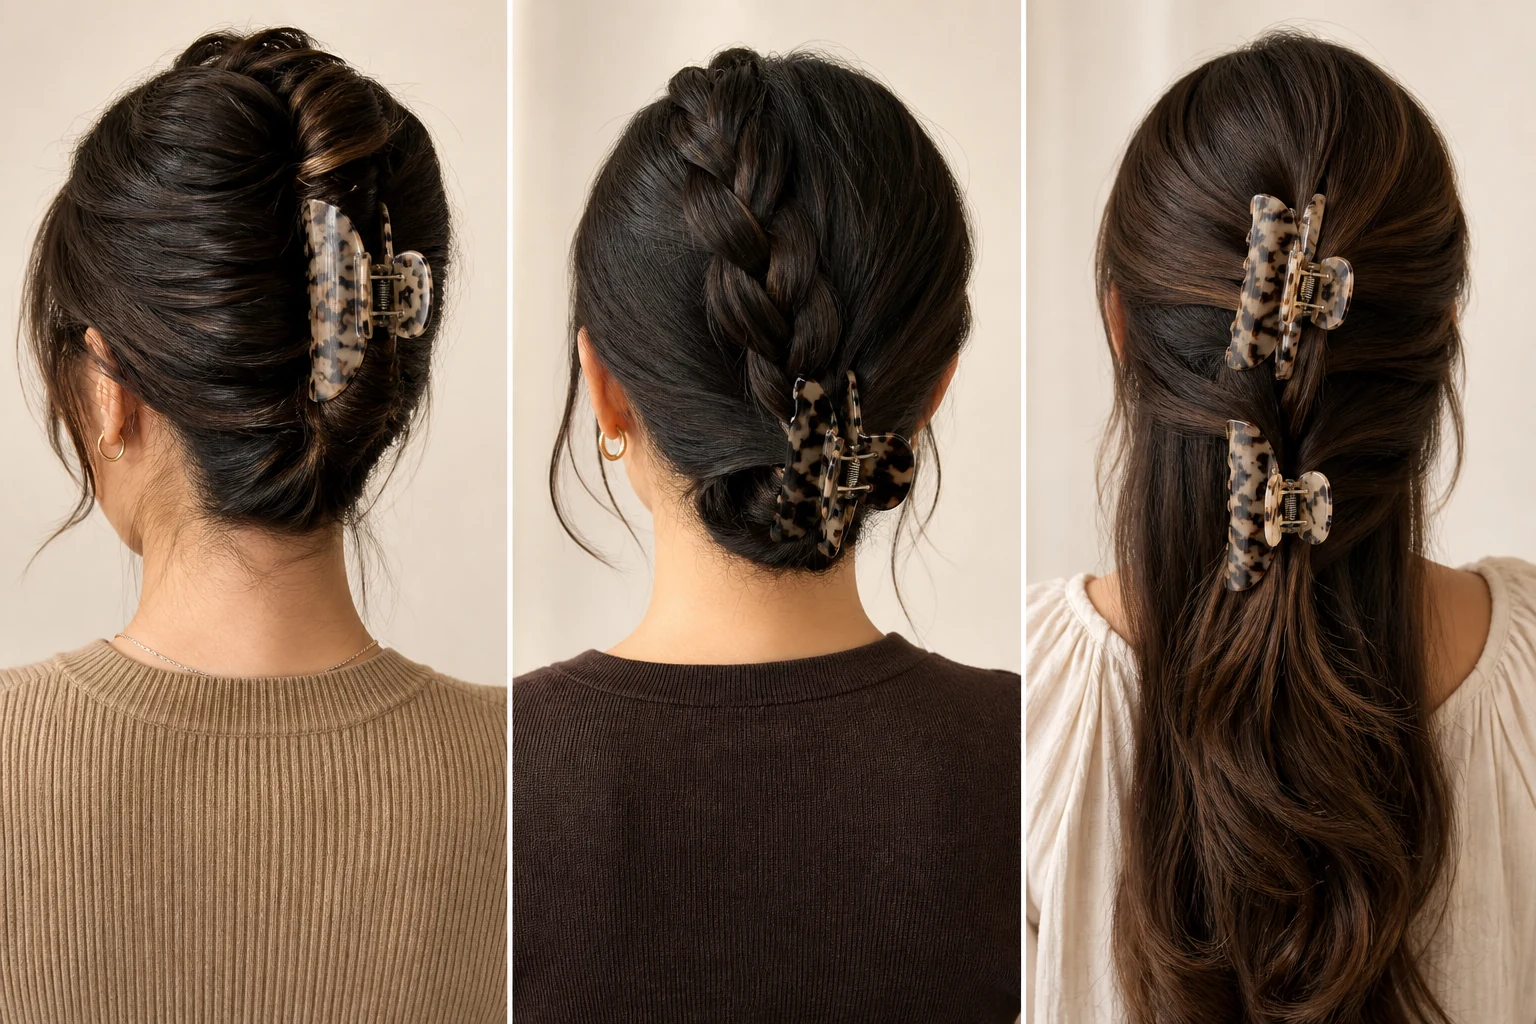
Long hair usually needs folding rather than one upward twist. Distributing the length inside the jaw keeps the clip closer to the head; dense hair may hold better with two medium clips.
7. Folded French Twist
- Gather the hair low, twist it upwards, and continue until most of the length is compact.
- Fold the remaining tail down along the first twist, tucking the ends underneath.
- Place a large clip vertically across both folded layers and a small section near the scalp.
8. Braided Tuck
- Make a loose three-strand braid beginning at the nape.
- Fold the braid upwards once or twice, depending on its length.
- Secure the folded braid with a large clip, leaving the braided texture visible below it if desired.
9. Double-Clip Cascade
- Divide the hair horizontally into an upper and lower section.
- Twist and secure the upper section with one medium clip.
- Twist the lower section underneath and secure it with a second clip, allowing the ends to cascade between them.
One Style for Every Length: The Half-Up Twist
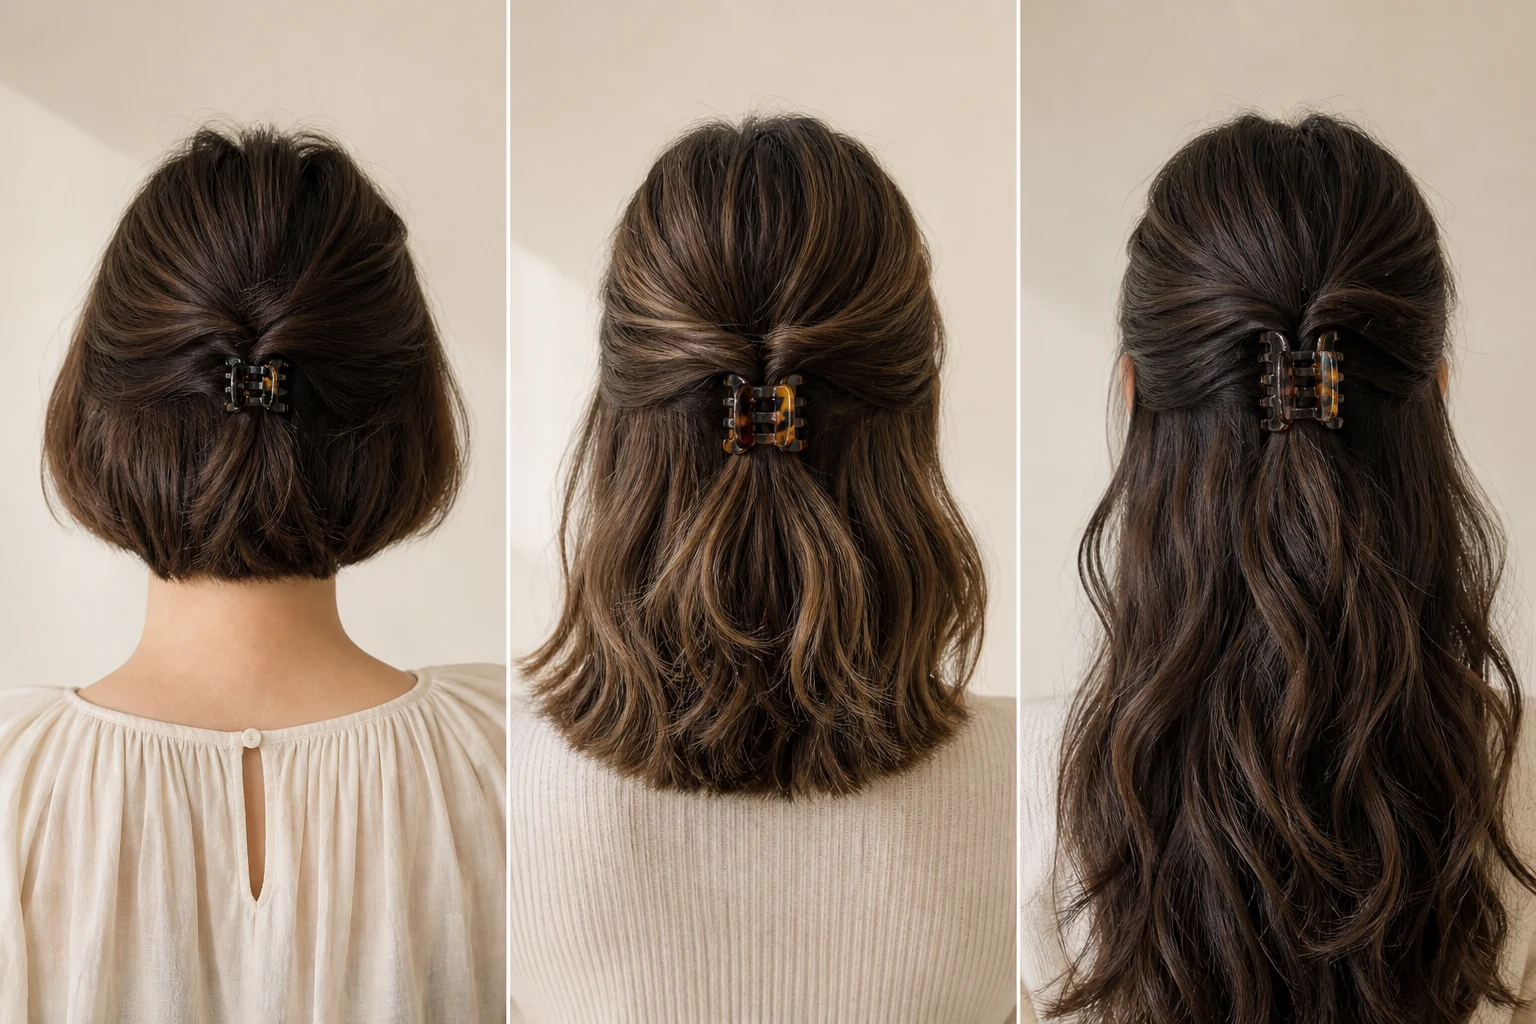
10. Everyday Half-Up Twist
- Separate the hair above the ears from the hair that will remain down.
- Bring the upper section to the centre back and twist it one or two times.
- Lift the twist slightly for volume and close the clip across its base.
This style adapts to nearly every length because the section size is adjustable. Use a mini clip for short hair or a deeper medium clip for long, dense hair. Leave face-framing layers loose for a softer finish.
If avoiding visible dents is the priority, place the clip over a loose twist rather than compressing a flat section. The guide to hair clips that do not leave creases explains how construction and placement influence temporary marks.
How to Keep a Claw Clip Secure and Comfortable
A claw clip should hold the style without relying on painful pressure. Let the teeth catch both the twist and a small amount of hair close to the scalp. If they close only around the twist, the entire style can slide down as one piece.
| Hair Type | Common Challenge | Suggested Approach |
|---|---|---|
| Fine or slippery | Clip slides down within minutes | Lightweight clip, texturising spray before twisting |
| Thick or dense | Single clip pops open | Deeper jaw capacity or two medium clips |
| Curly or coily | Curl pattern disrupted | Gather with hands; avoid brushing flat first |
| Layered | Short pieces escape the twist | Secure loose layers separately with a mini clip |
| Freshly washed | Low natural grip | Light dry shampoo or texture powder at the roots |
Reposition the clip if it pulls at the temples or creates one painful pressure point. Avoid repeatedly closing the hinge over the same strands, and remove rigid clips before sleeping or vigorous activity. The article on claw clips designed to minimise hair damage covers smooth edges, tooth shape, spring tension, and fit in more detail.
These precautions align with general dermatology guidance to avoid hairstyles that continually pull on the hair. The American Academy of Dermatology's hair-damage guidance recommends wearing hair loosely and changing styles when they cause discomfort. Persistent pain or hair loss should be discussed with a qualified clinician.
Conclusion
The easiest way to learn how to wear a claw clip is to begin with the amount of hair the clip can comfortably hold. Short hair responds well to mini sections, medium hair can form classic twists and low rolls, and long hair becomes easier to secure when it is folded or divided. The half-up twist remains the simplest all-length option.
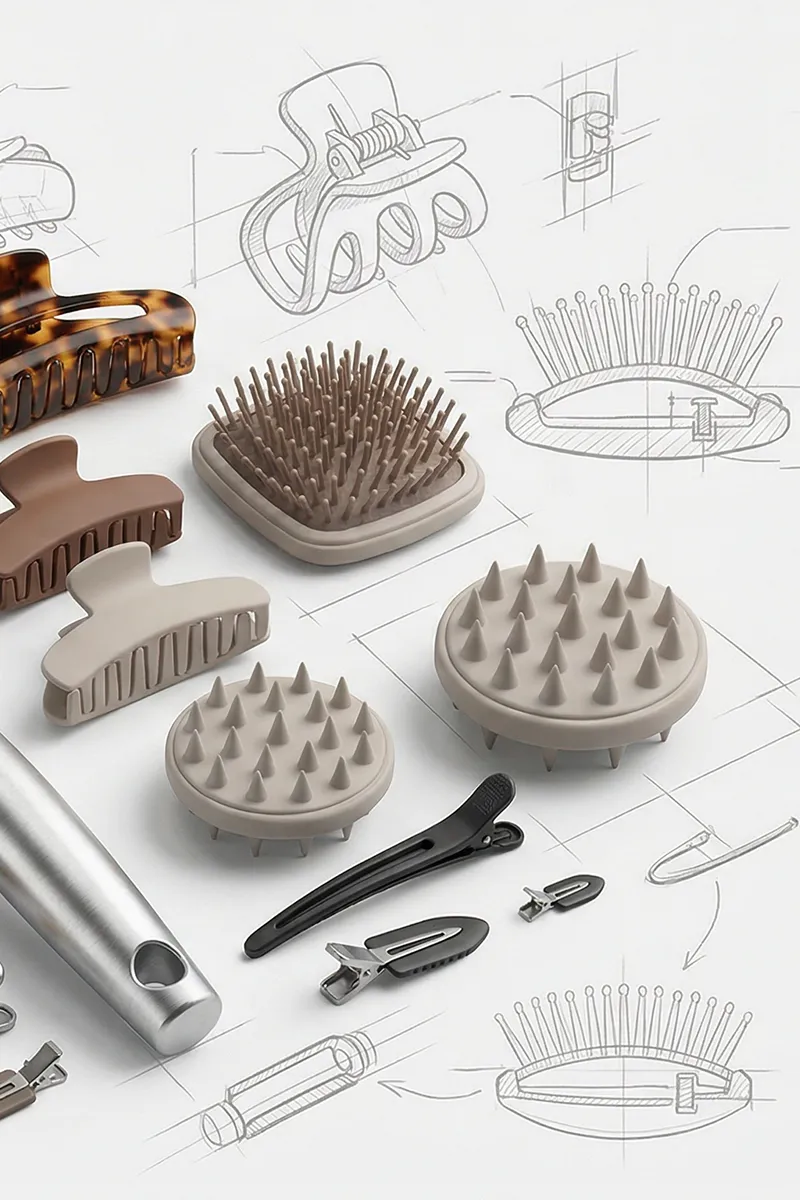
From a product-design perspective, JunYi Beauty treats tooth spacing, jaw depth, edge finish, spring tension, and clip weight as interconnected factors: changing any one of them can alter how a style feels and holds. Whatever the design, a secure style should remain adjustable, balanced, and comfortable rather than depending on excessive tension.