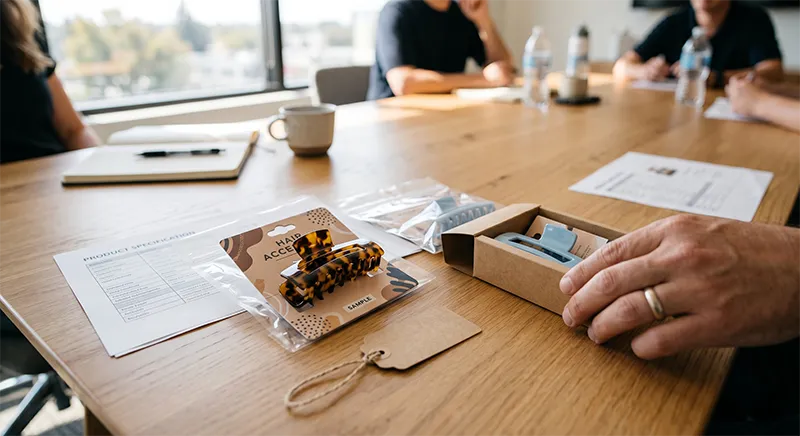
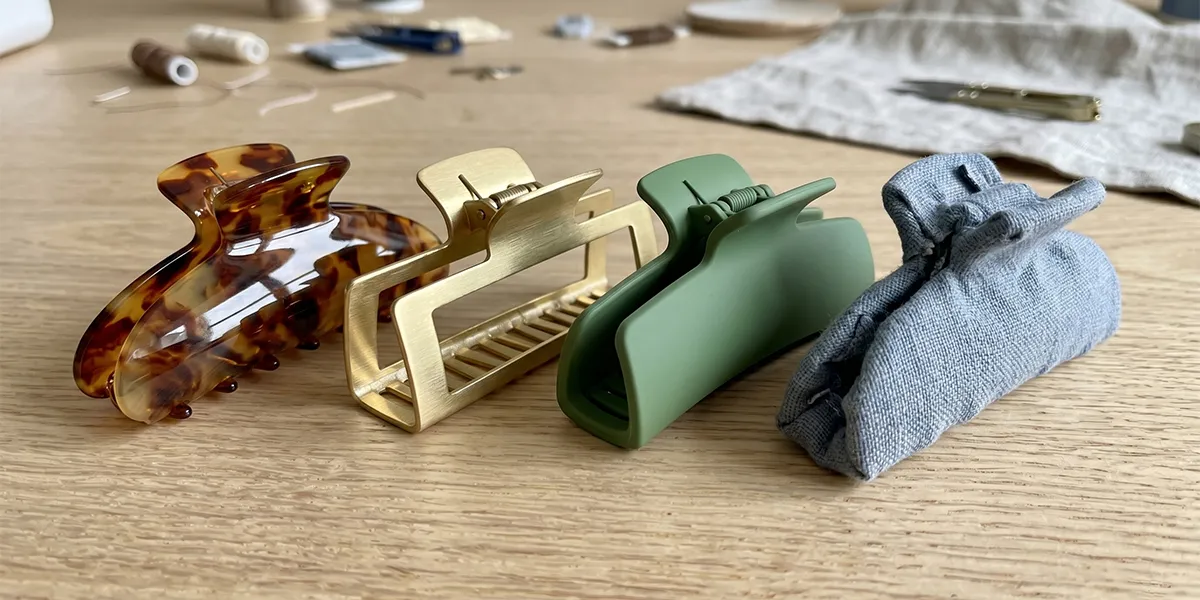
Retail-ready packaging for hair accessories is ready when four things are approved together: the pack format, the print files built on the factory’s dieline, the barcode and label content for each SKU, and the inner-pack and carton specification. If any one of them is still open when the product is finished, the order waits—packaging is printed by a separate line or supplier and has its own minimum and lead time.
This guide walks through those four decisions for clips, claws, headbands, brushes and combs, in the order a factory needs them. It is written for brand owners, retailers and distributors preparing a first private-label order or moving from generic to branded packaging.
1. Choose the pack format before designing anything
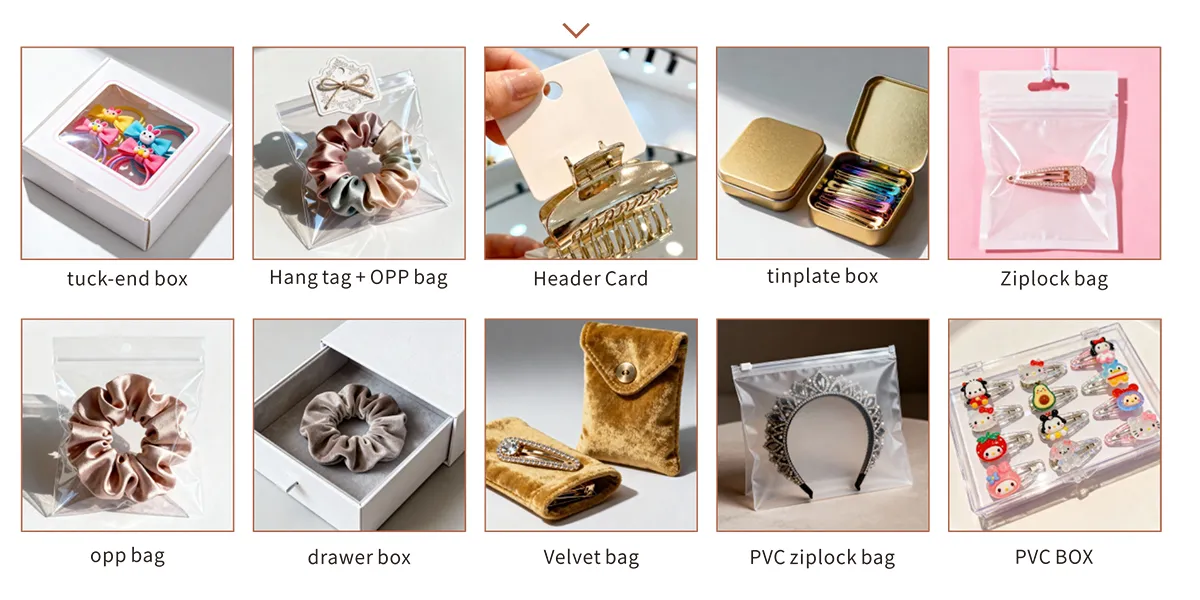
The format decides the dieline, the print method, the inner-pack count and often the packaging minimum. Choose it from how the product will be sold—on a peg, on a shelf, online or as a gift—not from the artwork.
| Format | Typical use | What to decide |
|---|---|---|
| OPP or ziplock bag | Multi-packs, online orders, protection inside a box | Bag size, seal type, any printed or sticker label |
| Header card + OPP bag | Peg display for clips, claws and pins | Card size, hang hole, how the product is fixed to the card |
| Hang tag | Single scrunchies, headbands, brushes | Tag size and attachment that will not mark the product |
| Tuck-end or drawer box | Shelf retail, gift sets, premium brushes and combs | Window or no window, insert, board thickness |
| PVC or clear box | Gift sets and visible multi-piece sets | Insert layout so pieces do not move in transit |
| Tin box or pouch | Premium sets, reusable packaging | Lid fit, inner protection, print or embossing |
JunYi Beauty can source custom packaging through a partner packaging factory, or you can supply your own packaging and we assemble it for a small handling fee based on the packaging complexity. Either way, confirm early who is responsible for each component, because a missing insert or card holds back finished goods.

2. Ask for the dieline, then build the artwork on it
A dieline is the flat, to-scale template of the package with cut, fold and glue lines. It must come from the packaging supplier and be based on the real product and pack sample—never redraw it from a photo. Once you have it, build the artwork directly on that file.
- Keep the dieline on its own layer, set to non-printing, and do not move it.
- Extend background colours and images into the bleed—commonly about 3 mm beyond the cut line, but use the supplier’s figure.
- Keep text and logos inside the safe area, away from folds, glue flaps and the hang hole.
- Supply vector artwork (AI or print PDF), with fonts converted to outlines and images at print resolution, typically 300 dpi at final size.
- Specify colour as CMYK, or Pantone/spot references where colour matching matters, and note any special finish such as foil or spot UV on a separate layer.
- Name the file with the SKU and revision, for example CC08-TORT-headercard-v3.pdf, so it matches the purchase order.
3. Barcodes: one code per sellable unit
If the product will be sold through retailers or marketplaces, each sellable unit normally needs its own barcode. A different colour, size or pack count is a different sellable unit, so it needs a different code. Retailers generally require GS1-issued numbers registered to the brand owner; the factory prints the codes you provide, it does not issue them.
| Barcode question | Recommended practice |
|---|---|
| Who owns the number? | The brand owner, through its own GS1 membership or the retailer’s instructions |
| How many codes? | One per sellable SKU: product + colour + size + pack count |
| Where does it go? | A flat, unfolded panel with a clear quiet zone, not across a fold or curved edge |
| How big? | Within the size range your retailer accepts; do not shrink below it to fit the design |
| Marketplace labels | Some marketplaces ask for their own unit label in addition to, or instead of, the printed code—check before printing |
| How to verify | Scan the printed proof, not only the PDF, and keep the result with the approval record |
4. Labels and required text
The text a package must carry depends on the market and the channel, so treat the list below as a checklist to confirm with your importer, retailer or compliance adviser—not as legal advice.
- Country of origin, for example “Made in China”, where the destination market requires origin marking on the product or retail pack.
- Brand owner or importer name and contact details, which many markets and retailers expect on consumer products; in the EU, consumer product safety rules require economic-operator details.
- Product description and contents, such as quantity per pack, size and material, consistent with the product specification.
- Warning text where relevant—for example a suffocation warning on plastic bags above a certain size, or small-parts warnings if the product is aimed at young children.
- Care or use instructions for brushes and heated-styling-compatible products if you make performance claims.
- Environmental claims only if you can support them; avoid “eco-friendly” or “biodegradable” on the pack unless the material evidence backs the exact wording.
If the product is marketed to children, confirm the children’s-product rules for your market—testing, tracking labels and age grading—before the artwork is final. These rules can change both the pack text and the product itself.
5. Proofs and approval
Approve packaging in two steps. First, a digital proof on the dieline to check content, barcode numbers, spelling and layout. Second, a printed proof or physical pack sample to check colour, finish, folding and how the product actually sits in the pack. For coloured products such as tortoiseshell acetate, check that the printed colour on the card or box does not misrepresent the product colour.
Record the approved packaging as part of the golden-sample set, so inspection compares finished packs against the same reference as the product. Our sample approval guide explains how to label and store that reference set.
6. Inner packs and the carton specification
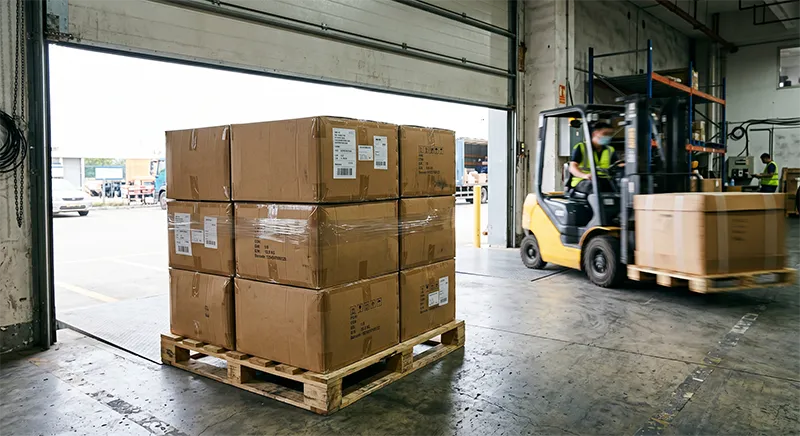
The carton specification turns packaging into logistics. It also decides freight cost: shipping is calculated on the packed carton dimensions, weight and quantity. Agree these points before production:
| Item | Decide | Example (illustrative) |
|---|---|---|
| Units per inner pack | How many retail units are bundled together | 12 header cards per inner polybag |
| Inner packs per carton | Carton count and how inners are separated | 20 inners = 240 pcs per carton |
| Carton size and gross weight | Dimensions and maximum weight per carton | Within your warehouse or marketplace limits |
| Protection | Dividers, corner protection, moisture protection | Dividers for boxed brushes |
| Pallets | Whether cartons are palletised and how high | Agree with your forwarder |
Many retail distribution centres and online-marketplace warehouses set limits on carton weight and dimensions and may refuse non-compliant cartons. Ask your receiving warehouse or marketplace for its current limits and give them to the factory with the order.
7. Carton marks
Carton marks let a warehouse receive the shipment without opening boxes. Agree them in the purchase order and print or label them consistently on every carton.
| Mark | Purpose |
|---|---|
| Brand or consignee and purchase order number | Matches cartons to the order on arrival |
| SKU, description and colour | Lets the warehouse put stock away without opening cartons |
| Quantity per carton | Supports receiving counts |
| Carton number, e.g. 12/80 | Shows whether any carton is missing |
| Gross and net weight, dimensions | Used for freight booking and handling |
| Country of origin | Often required on outer cartons as well as products |
| Handling marks or retailer labels | Fragile, this-way-up, or labels your retailer specifies |
8. Delivery and documents
Choose the shipping route when you set the carton specification, because the route affects how cartons are packed and labelled. Sea freight typically takes about 30–45 days after production, air freight about 10–15 days and express about 7–10 days, depending on destination. You can use our shipping service or your own forwarder. The packing list should match the carton marks carton by carton, so the receiving warehouse can reconcile the shipment quickly.
Packaging readiness checklist
| Item | Owner | Ready when |
|---|---|---|
| Pack format and components | Buyer + factory | Format, insert and supplier confirmed per SKU |
| Dieline | Packaging supplier | Issued from the real product and pack sample |
| Print files | Buyer / designer | Built on the dieline, outlined fonts, bleed and colours checked |
| Barcodes | Buyer | One code per sellable SKU, scanned on the printed proof |
| Required text and warnings | Buyer / importer | Confirmed for each destination market |
| Printed proof or pack sample | Both | Signed and added to the golden-sample set |
| Inner pack and carton specification | Both | Units, size, weight and protection written in the PO |
| Carton marks and packing list format | Both | Agreed and matched to the shipping documents |
When these eight items are approved, packaging stops being the reason a finished order waits. Packaging minimums and costs are covered in our Private Label Hair Accessories Guide, and per-SKU minimums in the Hair Accessories MOQ Guide.