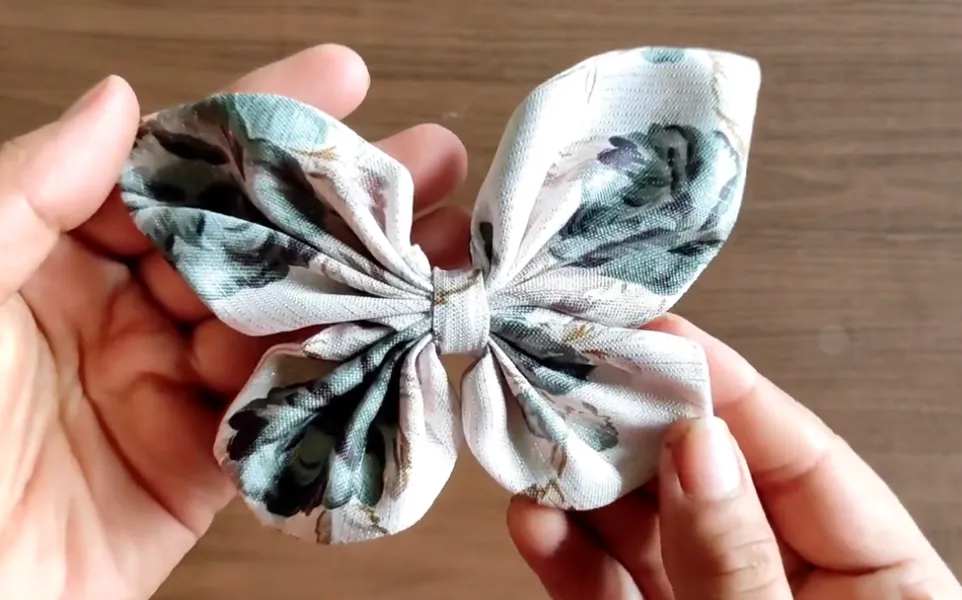
The DIY hair clips are an exciting and innovative solution to customize your own style and be sustainable at the same time. The knowledge of the correct process, materials and tools makes sure that your handmade clips are strong, well-organized and attractive. This tutorial will show you how to turn old clothes into cute butterfly hair pins. You will be shown step-by-step crafts, tricks of long-term clips, and imaginative variations. Reading this article, you will master the ability to create eco-friendly, fashionable accessories that will be suitable to yourself, as a gift, or even a small-scale project.
Why Make Butterfly Hair Clips from Scrap Fabric
Using scrap fabric to make butterfly hair clips will enable you to use items that would otherwise be wasted. You make environmentally-friendly accessories at a low cost and low environmental impact. This craft allows you to express yourself creatively and you can combine patterns, colors, and textures in any way. Creative and personalized gifts to friends and family are also made using handmade clips. Other than hair, you may attach them to headbands, bags, decorations, or clothes. The versatility and appeal of these videos allow you to create fashionable, practical items and remain conscious and economical of the environment.
Materials and Tools You’ll Need
- Fabric scraps – Select lightweight fabrics such as cotton or non-stretch. They are simpler to fold, shape and sew. The soft patterns bring beauty to your hair clips. You will be able to reuse old clothes or fabric used in the arts to create something special.
- Scissors– Cut fabric with a sharp fabric scissor or rotary cutter. Sharp edges can be ripped by blunt scissors and cutting becomes uneven. Proper cuts will guarantee clean folds and balanced butterfly shapes.
- Thread and needle– Select a matching thread to look clean. By hand-sewing it is alright, but a sewing machine is quicker to put together. You have the ability to add and remove stitches to create non-bulky folds.
- Hair clips– Snap clips, alligator clips or barrette clips are all good. Select the kind that best fits your desired style. The butterfly decoration can be secured well with the use of clips.
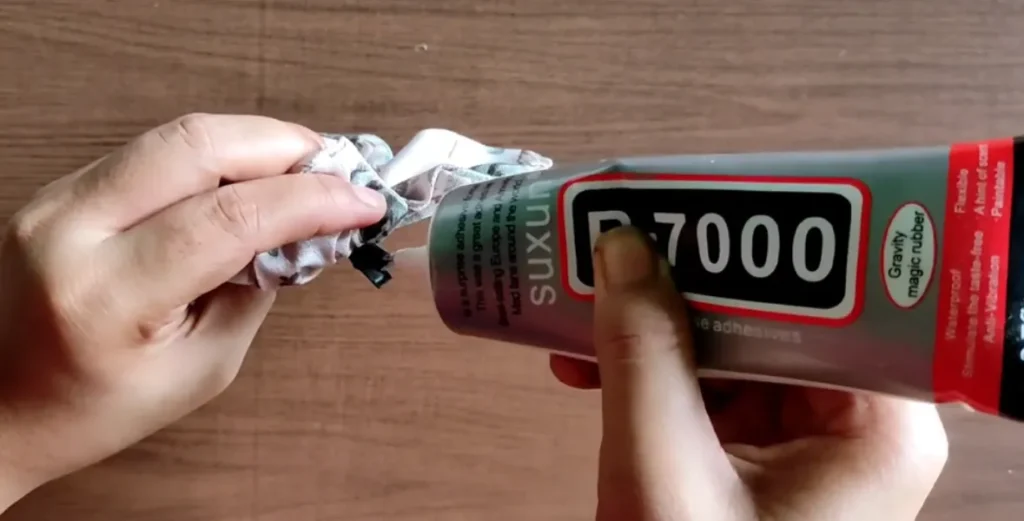
- Hot glue gun– These are used when you need to assemble faster than sewing (some sewing may be omitted). It is effective in attaching layers and completing edges.
- Iron and iron board– Press the fabric during and before assembly. Ironing helps to eliminate wrinkles and flatten folds to give a smooth look.
- Ruler or measuring tape– Measure same size rectangles to make same wings of a butterfly. Precision assists in the preservation of symmetry and the appearance of professionalism.
- (Optional) Felt/fabric backing– Stick onto the back of the clip to give it a professional appearance. It also conceals any stitches or glue to achieve a smooth look.
Step-by-Step Process: How to Make Butterfly Hair Clips from Scrap Fabric
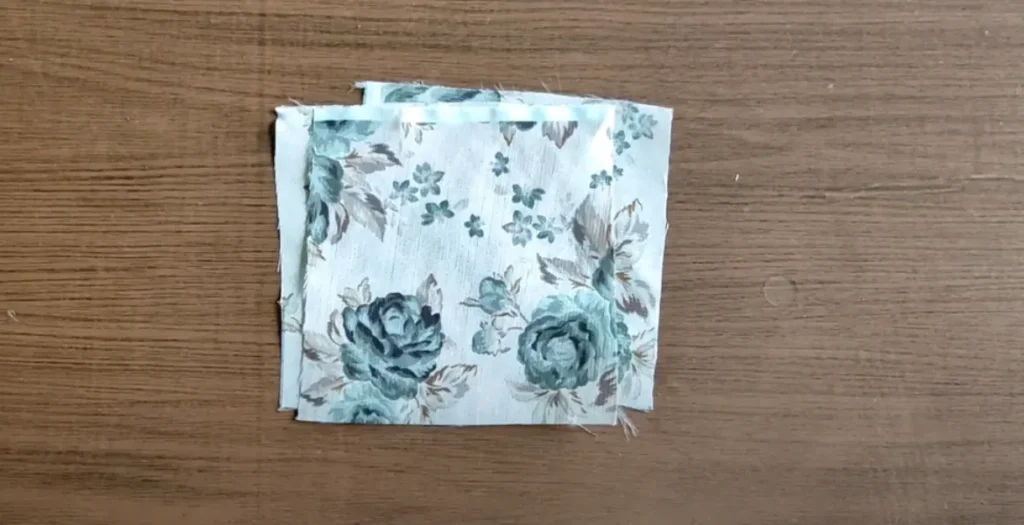
Step 1: Cut Fabric in Squares
Take four scrap pieces of fabric ideally contrasting in color or pattern. Choose the size of your butterfly: small (about 6 x 9 cm) and large (about 8 x 12 cm). Put the fabrics one upon the other, that is, the side you wish to be shown should be towards inside. Draw your square pattern on the cloth and cut four layers in one to obtain an equal measure. It involves cutting together to achieve precision. Correctly matched fabric prepares the stage of the tidy butterfly wings.
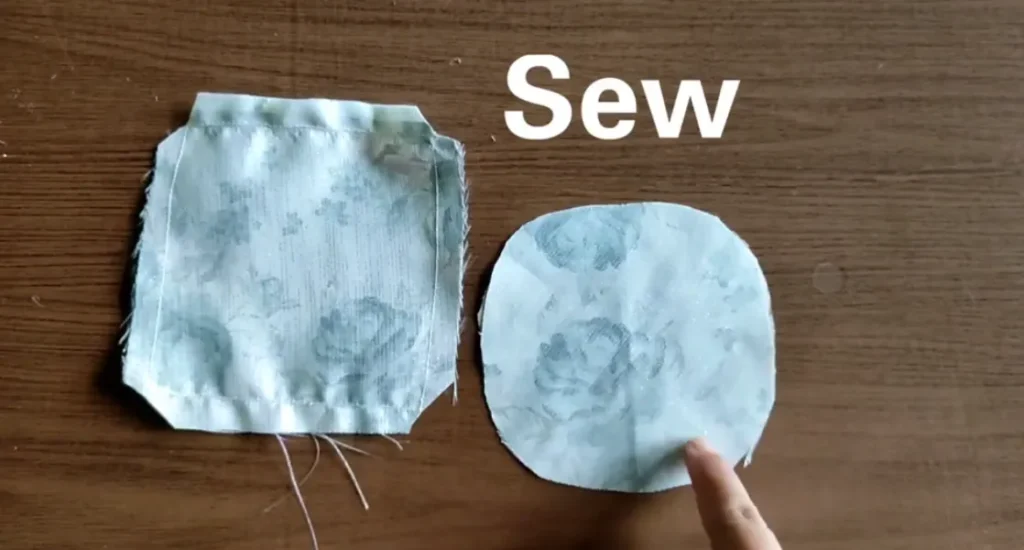
Step 2: Sew and Turn the Fabric Right-Side Out
Now begin with stitching the two square pieces with right side out. Stitch along all four sides of the rectangle. Clip corners diagonally to reduce bulk when turning.
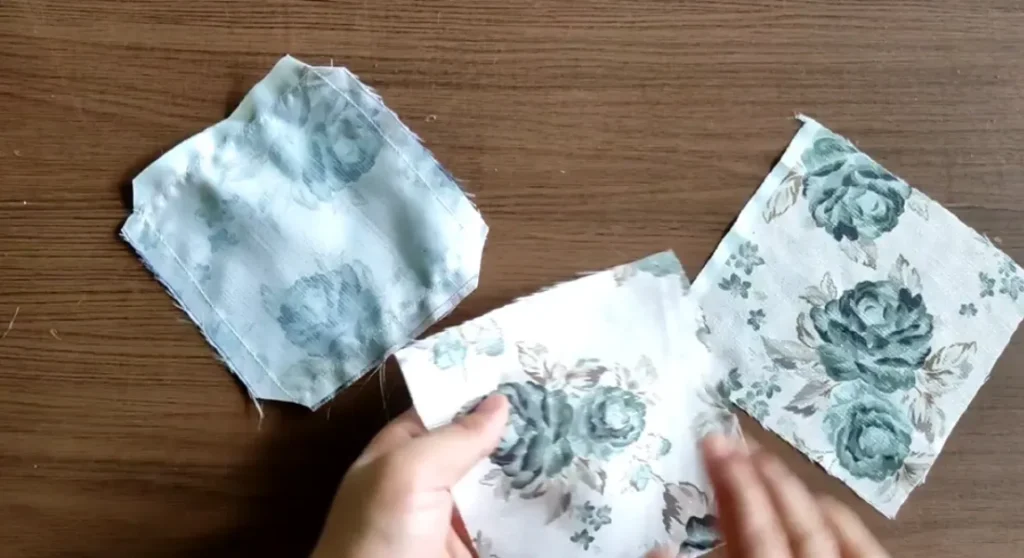
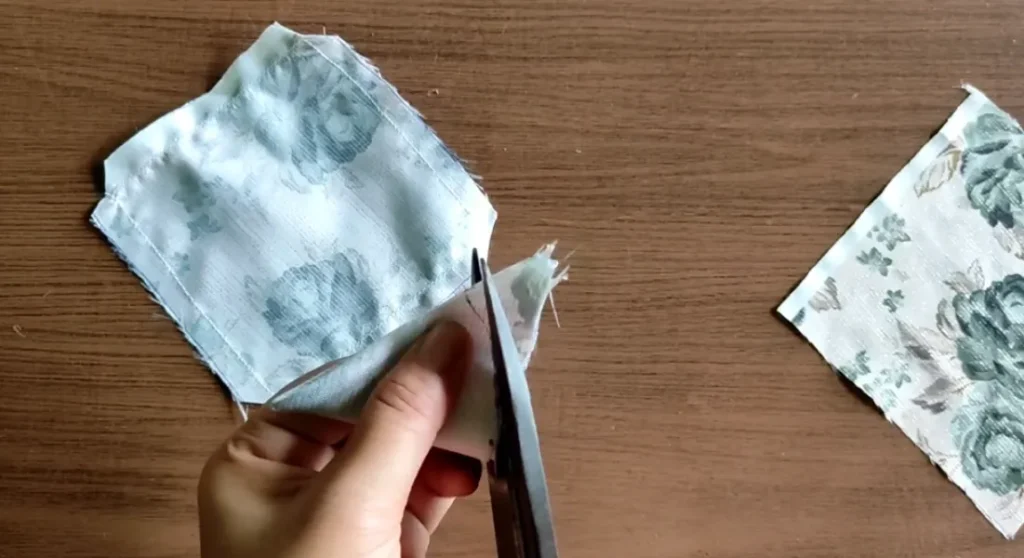
Now take the other two square fabric pieces and fold each of them thrice to make a triangle.
Now with the help of the measuring tape make an arch on one side. Use the scissor to cut out right from the arch.
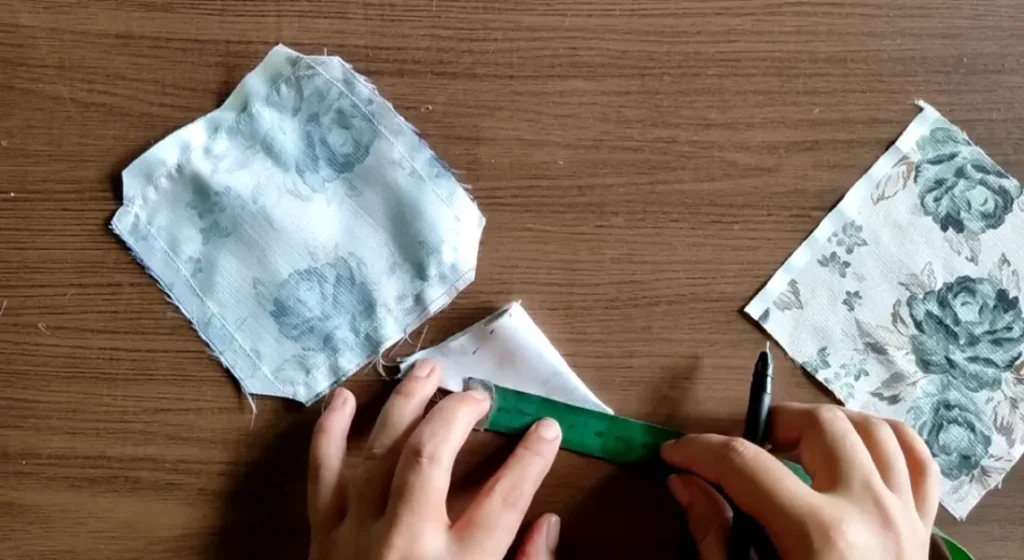
This process will help you to get a circular shape.
Now join the 2 cricular fabrics with their right side out and sew them together from the all sides.
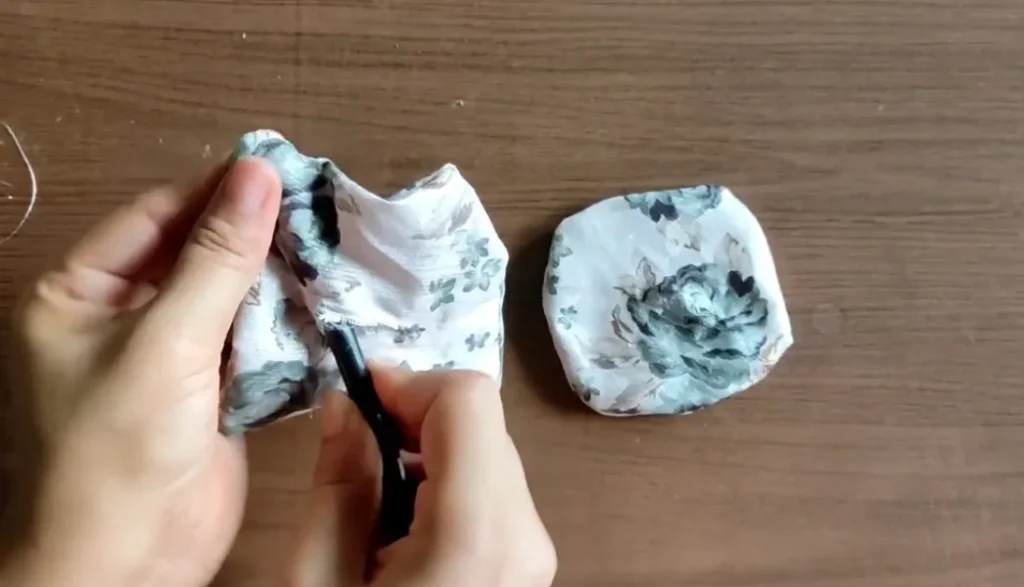
Next take a scissor and cut around 0.75 cm from the center of both the square and the circle fabric. This will help you take the right side out of the circle as well as the square.
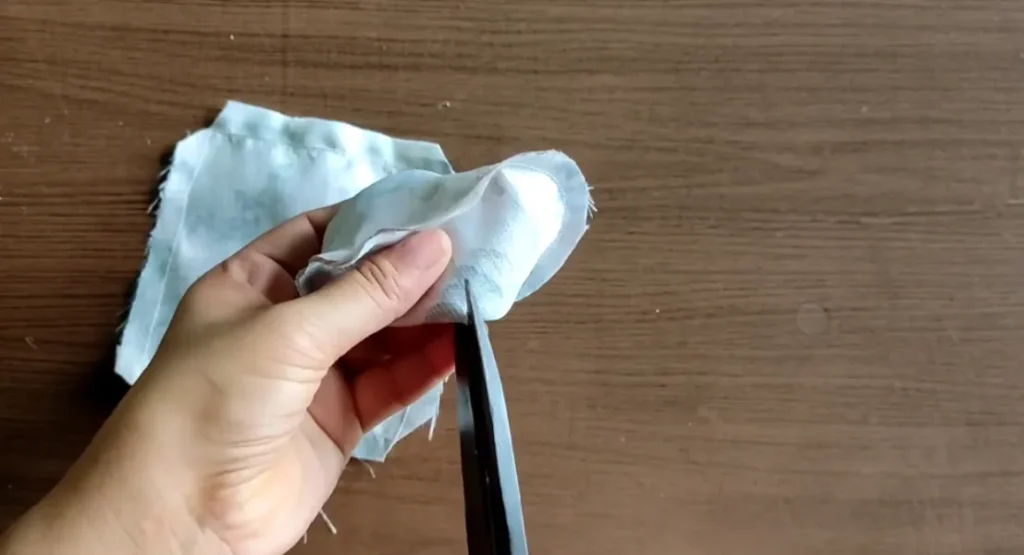
Carefully pull the fabric through the open side. Use a knitting needle or chopstick to push out corners. Fold in or press the raw edge and top-stitch for a clean finish. Press the square and circular fabric flat with an iron for crisp folds in upcoming steps.
Step 3: Fold Fabric to Form Butterfly Shape
Now put the one corner of the square over the circular fabric piece and start folding from bottom to the upward in one go. After folding from bottom to the top, keep the center in your hand and hold it.

Next take a needle and the thread and sew it right from the center.
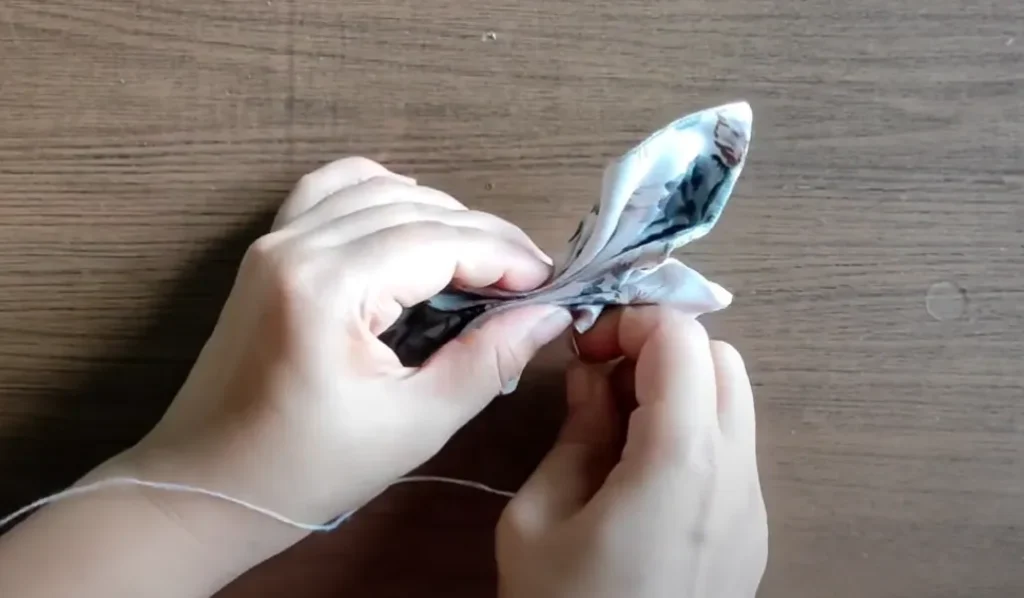
These folds create the basic butterfly silhouette as you can see the image below. Now take a rectangle fabric strip and fold the sewn part with the rectangle fabric strip.
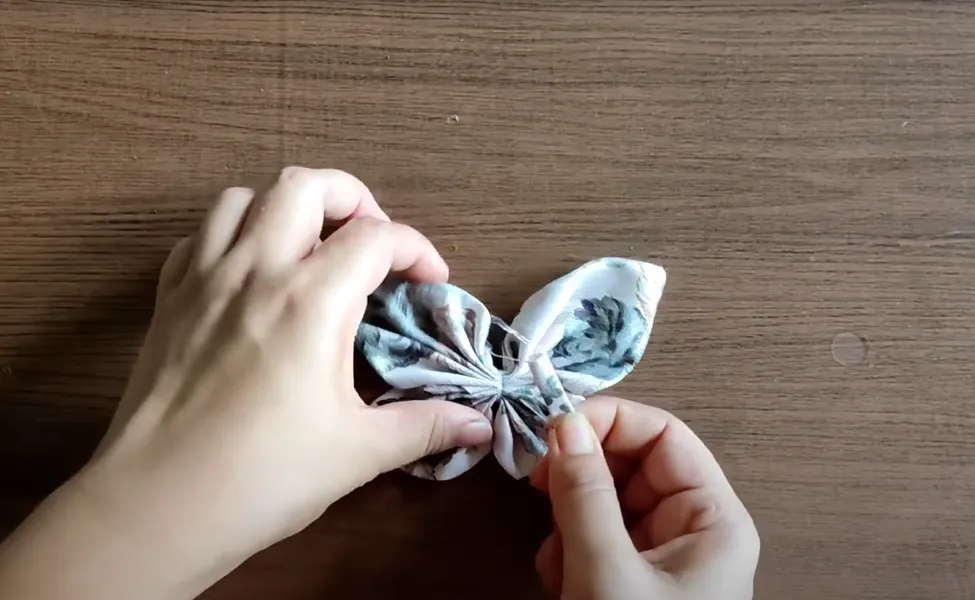
After folding hold the edge of the strip and sew it again using needle and thread. This will add more durability and strength to your DIY butterfly hair clip.
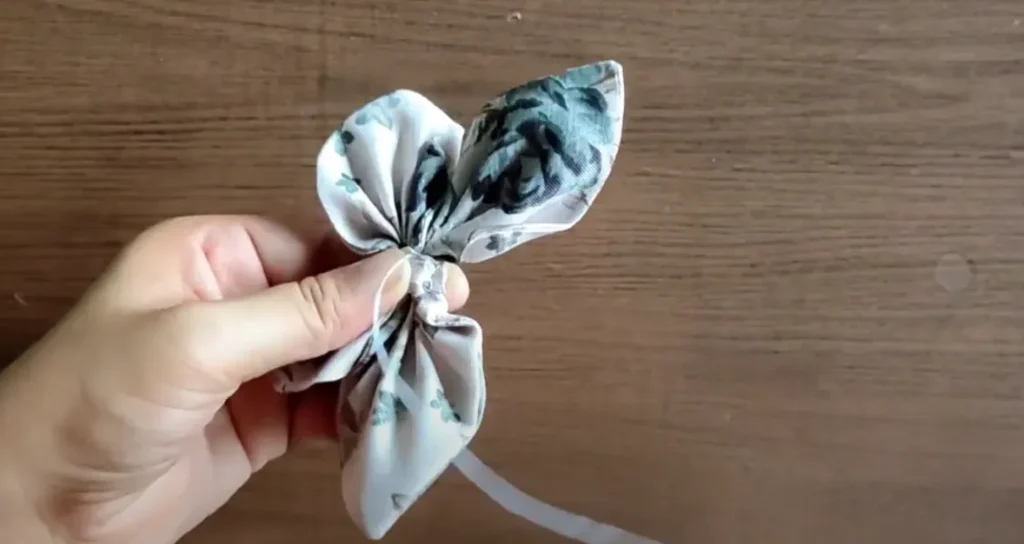
Step 4: Attach to Hair Clip
After sewing finished take a clip and insert it right through the sewn and folded rectangular fabric strip. You can see it in the image below.
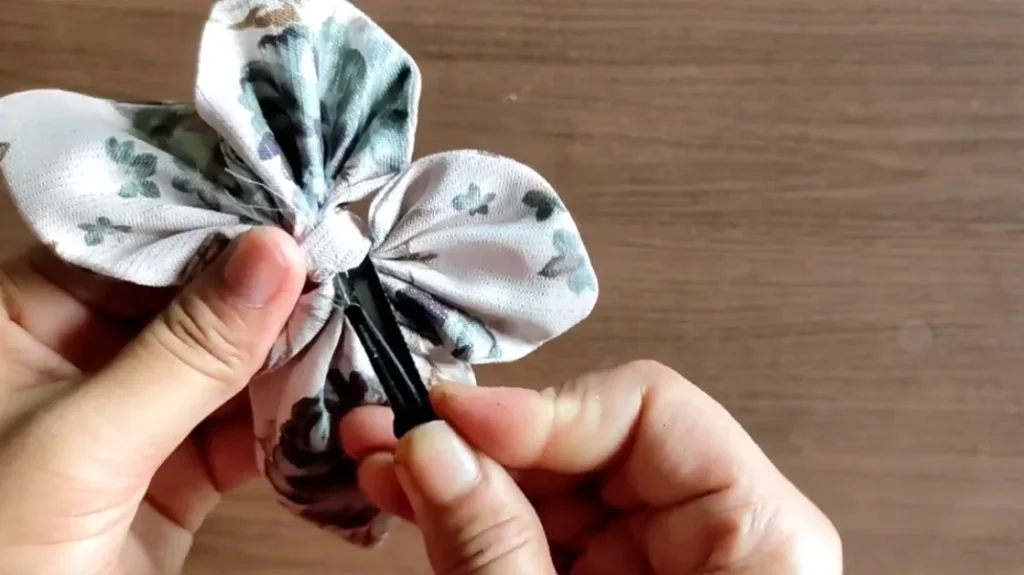
Apply hot glue to the flat top of a snap or alligator clip. Press the butterfly firmly onto the clip and hold until set. Allow glue to dry completely. This ensures the butterfly stays secure and neat.
Step 5: Final Touches and Quality Check
Check wing symmetry and adjust if necessary. Trim any loose threads. Lightly press with an iron to keep the shape crisp. Test the clip’s grip to confirm the butterfly is secure and not wobbly. Once satisfied, your butterfly hair clip is ready to wear.

Variations and Creative Ideas
Mix and Match Fabric Scraps
Patterned and plain fabrics can be mixed together in dynamic fashion. Make a juxtaposition of colors or of complementary hues. Add lace overlay or smooth fabric to create depth. The combination of material forms a special butterfly that demonstrates your style. Scraps can be used to experiment without waste, and to come up with stylish designs.
Use Different Clip Bases
Select your ideal butterfly base: snap clips, barrette, alligator clip or hair tie. Each type of clip has varying grips and fringe styles. You may stick several butterflies to one base to have layered effects. The variety of bases offers greater options on the types of functional and ornamental designs that you can create.
Attach to Accessories and Garments
Butterflies can be fixed onto headbands, bags, hats or clothing accents. This method converts simple things to tailor-made statement goods. A combination of mixing butterflies in accessories provides fun in coordinating outfits. It will also enable you to customize gifts and fashion items with little effort.
Add Embellishments
Make every butterfly a little canvas. Add beads, sequins, lace or tiny buttons to look sparkly and feel tactile. Details Characteristics and colors are embellished, and that is why each butterfly is unique. Layering gives a beautiful effect of a three dimensional element.
Prepare Butterflies to Decoration
Make larger butterflies to decorate walls, garlands or even gift wrapping decorations. These exaggerated plans create a powerful look to any room. You have the ability to depth and move various sizes on displays. Butterflies of extra size can be used at a party, seasonal decorations or events.
Tips for Durable, Long-Lasting Clips
Lightweight cotton or non-stretch fabric should be used to make clips that are durable and long-lasting. Elastic material can be lost or slippery. Iron seams and folds at all times to achieve a clean and professional appearance. When you sew you should use little tight stitches so they are very strong. In gluing, use good quality hot glue and leave it to dry completely. To wear on a daily basis, attach the clip to felt to cover the jagged edges. Wipe cloth pieces prior to usage, particularly when kept longer to get rid of dust or odor.
Why This Project is Sustainable and Meaningful
Lightweight cotton or non-stretch fabric should be used to make clips that are durable and long-lasting. Elastic material can be lost or slippery. Iron seams and folds at all times to achieve a clean and professional appearance. When you sew you should use little tight stitches so they are very strong. In gluing, use good quality hot glue and leave it to dry completely. To wear on a daily basis, attach the clip to felt to cover the jagged edges. Wipe cloth pieces prior to usage, particularly when kept longer to get rid of dust or odor.
Common Mistakes & Troubleshooting (and How to Avoid Them)
- Too Bulky Seams/Corners – You can avoid bulk by snipping corners prior to turning the fabric inside-out. This makes the edges smooth and prevents uneven folds. Sew slowly and cut only the excess, and seams will remain intact and trim. Turn and press the piece lightly to achieve a crisp finish.
- Wings Not Symmetrical — Fold in the same direction and press after every fold to keep the balance. Measure or align sides and then fasten. Symmetry makes your butterfly clip look professional and appealing to the eye. Adjust folds on time and do not hurry as this may result in lopsided wings.
- Clip Feels Loose or Falls Off – apply glue in sufficient quantity and dry thoroughly before use. To add additional stability, a small felt backing can be added. This helps to avoid sliding and grip better on hair. Attach checks and trim glue before attaching checks.
- Fabric Frays or Distorts — Select non-stretch cotton or fraying minimum fabrics. Edge finish: sealing or stitching. Handling fabric is gentle, avoids distortion and keeps shapes clean.
- Butterfly Loses Shape Over Time – Reinforce the center using thread wrap or bar-tack stitch. Do not do hard work or pull hard. The butterfly is held in place by proper reinforcement to maintain long-term structure.
Conclusion
Making butterfly hair clips out of the fabric scraps is a satisfying and environmentally friendly activity. It turns scraps into beautiful, customized accessories and lessens wastage and promotes creativity. With the step-by-step guide, you are able to create long lasting, professional looking clips that remain in shape and appealing with time. This project enables you to have fun with colors, textures, and embellishments, and each work is a unique one. Take your scraps, choose your favourite fabrics, and begin making your first butterfly hair clip today- fun, sustainable, and stylish!