Have you noticed your curling iron doesn’t seem to be working to its full potential? It’s likely not working well due to a buildup of sprays, oils, and heat protectants. If not properly maintained, it might even start to damage your hair. In this article, I will explain the importance of regular cleaning and the tools you will need to clean the curling iron. I also discuss simple steps to keep it clean and safe.
1) What Is a Curling Iron?
“The hair curl iron is an electric hair styling tool designed to make curls and waves in the hair. The tool works using heat to wrap the hair around a heated barrel.”
A curling iron is used to add curls, waves, or volume to your hair. It also helps achieve different hairstyles you may want, be it soft waves or tight curls.
➔Structure of a Curling Iron
A curling iron is made up of several parts that work together to help you style your hair. Now we will explore the structure of a curling iron:
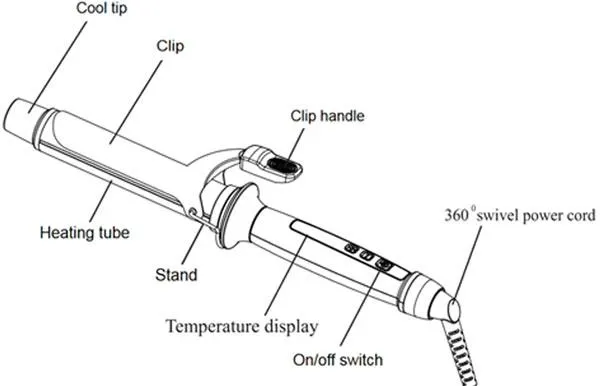
i) Heated Barrel:An important part of practically all curling irons is the metal barrel, which is usually cylindrical in shape and is heated up. This part curls or waves your hair.
ii) Handle:Next, the curling iron also comes with a handle that lets the user hold and control the iron with ease while doing the hair styling.
iii) Clamp (Optional): Curling irons often come with a clamp feature, which helps to hold the hair in place during curling. This feature is useful in securing the hair whilst it is being styled.
iv) Temperature Settings: Certain curling irons have adjustable temperature settings that let you choose the proper heat for your hair type. This ensures that the hair will not be damaged.
2) Why You Should Clean Your Curling Iron
The use of hairspray, styling gel, and other products may form a sticky residue on your curling iron. These curling iron products can build up over time, which makes your curling iron less effective.
A curling iron with dirt buildup may not function as intended. For example, it might not provide even heating, which means your curls won’t come out right. Even more concerning, the buildup might snag hair, leading to painful tangles that could harm your hair. That’s why cleaning the curling iron is an important task. This boosts the performance of the tool and prolongs its lifespan. Most importantly, you get smoother and healthier curls while protecting your hair.
3) Tools and Materials You’ll Need to Clean a Curling Iron
Before starting the cleaning process, you must have the right tools. Now we will discuss the basic items that will ensure that you clean your curling iron properly and safely:
- Rubbing alcoholor baking soda: These options work great for removing sticky buildups.
- Cotton swabs:Excellent for getting into cramped or narrow spaces.
- Microfiber cloth or towel:Best for wiping surfaces, considering they won’t scratch it.
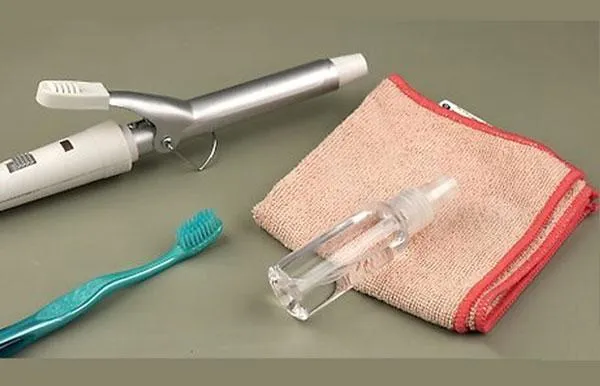
- Toothbrush (optional):A soft toothbrush may help remove stubborn residue.
- Heat-resistant glove: Protects your hands. Important that the iron is still warm to the touch.
➔What to Avoid
During the cleaning process, you should never do things like:
- Don’t immerse the curling iron in water. Doing this can cause significant damage to the electrical components, making your curling iron unsafe to use.
- Don’t use metal tools or abrasive scrubbing pads. These will certainly scratch the finish and damage your curling iron.
4) Step-by-Step Cleaning Process
Cleaning your curling iron on a regular basis is important to ensure its longevity. In this part, we will discuss how to clean a curling iron in a step-by-step process:
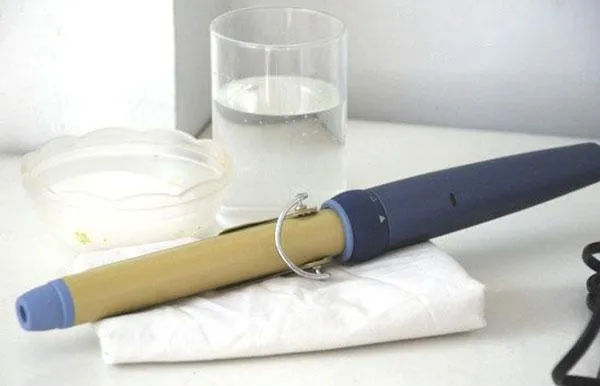
Step 1) Unplug and Cool Down: The first step is to pull out the plug from the socket and wait a few minutes until it cools down completely. This way, you know you are not dealing with a danger that can burn you.
Step 2) Wipe Off Loose Debris: After that, without wetting the cloth, grab a dry one and clean the surface of the curling iron. This helps you to minimize any larger residue as you prepare yourself for more intensive cleaning.
Step 3: Apply Rubbing Alcohol or Baking Soda Paste: Then, apply rubbing alcohol or a baking soda paste to the marked and stained areas. These products help break down the buildup and make cleaning easier.
Step 4: Gently Scrub with a Toothbrush or Brillo pad: From that point onward, scrub the surface with a toothbrush or a Brillo pad with light pressure. Work on spots with more stubborn residue first, but be careful not to damage the surface.
Step 5: Use Cotton Swabs for Tight Spots: For the smaller and more difficult spaces, cotton swabs are an excellent choice. These are only best for touching up the edges and tight spaces.
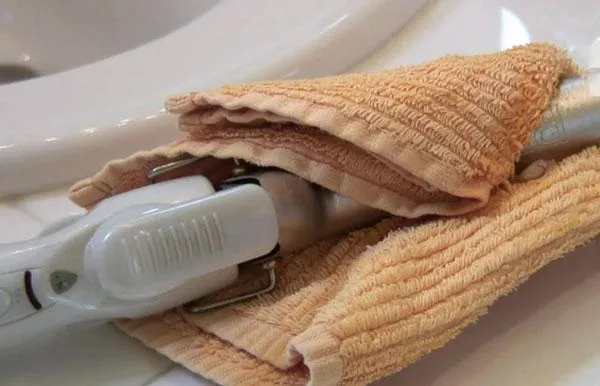
Step 6: Wipe Everything Clean: After you have done all the scrubbing, wiping with a wet towel will effectively cleanse any remaining residue left from the cleaning steps done previously.
Step 7: Let It Dry Completely: Make sure you let your curling iron dry completely before putting it back in storage or using it again. This ensures it’s ready for your next styling session.
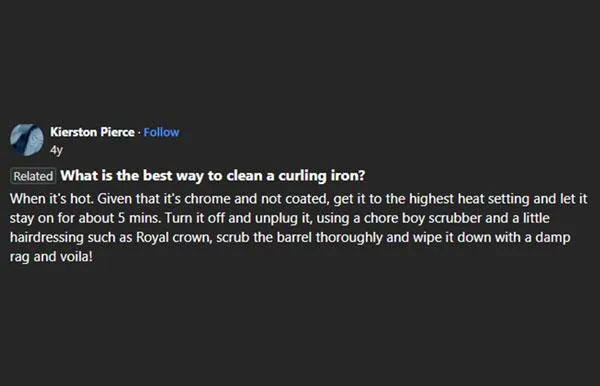
In a Quora review, Kierston Pierce suggested that if your curling iron is chrome and not coated, you should get it to the highest heat setting and let it stay on for about 5 minutes. After that, turn it off and unplug it. Using a Chore Boy scrubber, scrub the barrel thoroughly. Then, wipe it down with a damp rag, and you’re done!
4) Step-by-Step Cleaning Process
Each time a curling iron is used, a bit of care goes a long way in keeping the curling iron clean and safe, as well as in good working order. In this section, we will discuss the practical maintenance tips that can extend the lifespan of the curling iron and keep its performance optimal.
- Clean lightly after every few uses:Wipe it down after every few uses. Cleaning the barrel with a dry cloth or a slightly damp one will do. This prevents the accumulation of hairspray and grease.
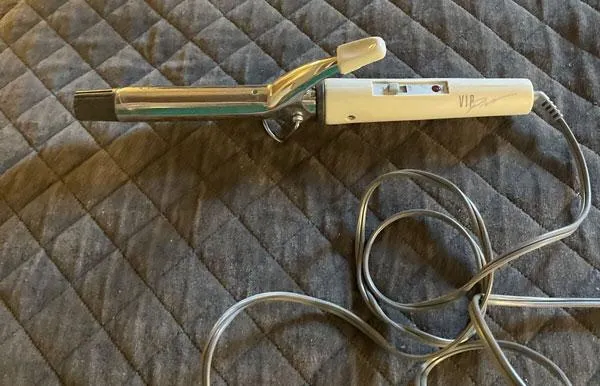
- Avoid wrapping the cord around the iron:Instead, gently loop the cord next to the iron. This stops the cord from getting damaged.
- Store it in a dry, heat-safe pouch or case: After that, place it in a zippered pouch or case that is dry and can withstand heat. This prevents moisture and dust from settling in while protecting your curling iron from damage.
- Let it cool before storing:Moreover, allow it to cool down completely before putting it away. If you put it away while hot, the case could potentially melt or even ignite a fire.
- Check the plug and cord regularly:Regularly inspect the cord and plug. If you notice any damage, such as cracks or fraying, put the curling iron aside until it is either repaired or replaced.
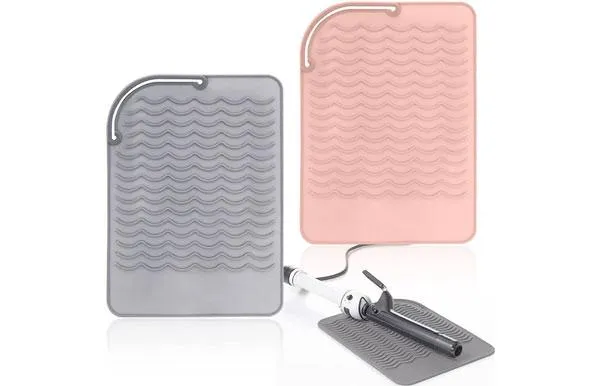
- Use a heat-protective mat:When styling, make sure to use a heat-protective mat. This will protect the curling iron from damage as well as burns caused by the tabletop.
- Don’t use too much product near the barrel: Try not to spray anything near the barrel. This keeps the iron cleaner and easier to maintain.
Conclusion
In short, the best practice is to make sure that your curling iron is not dirty. Regular cleaning will ensure that it works well, lasts long, and your hair will not get damaged. To remove built-up product, only a few basic tools are needed. By following easy maintenance tips, you will keep your curling iron in the best condition possible, so every time you use it, it will leave your hair with smooth and shiny curls.