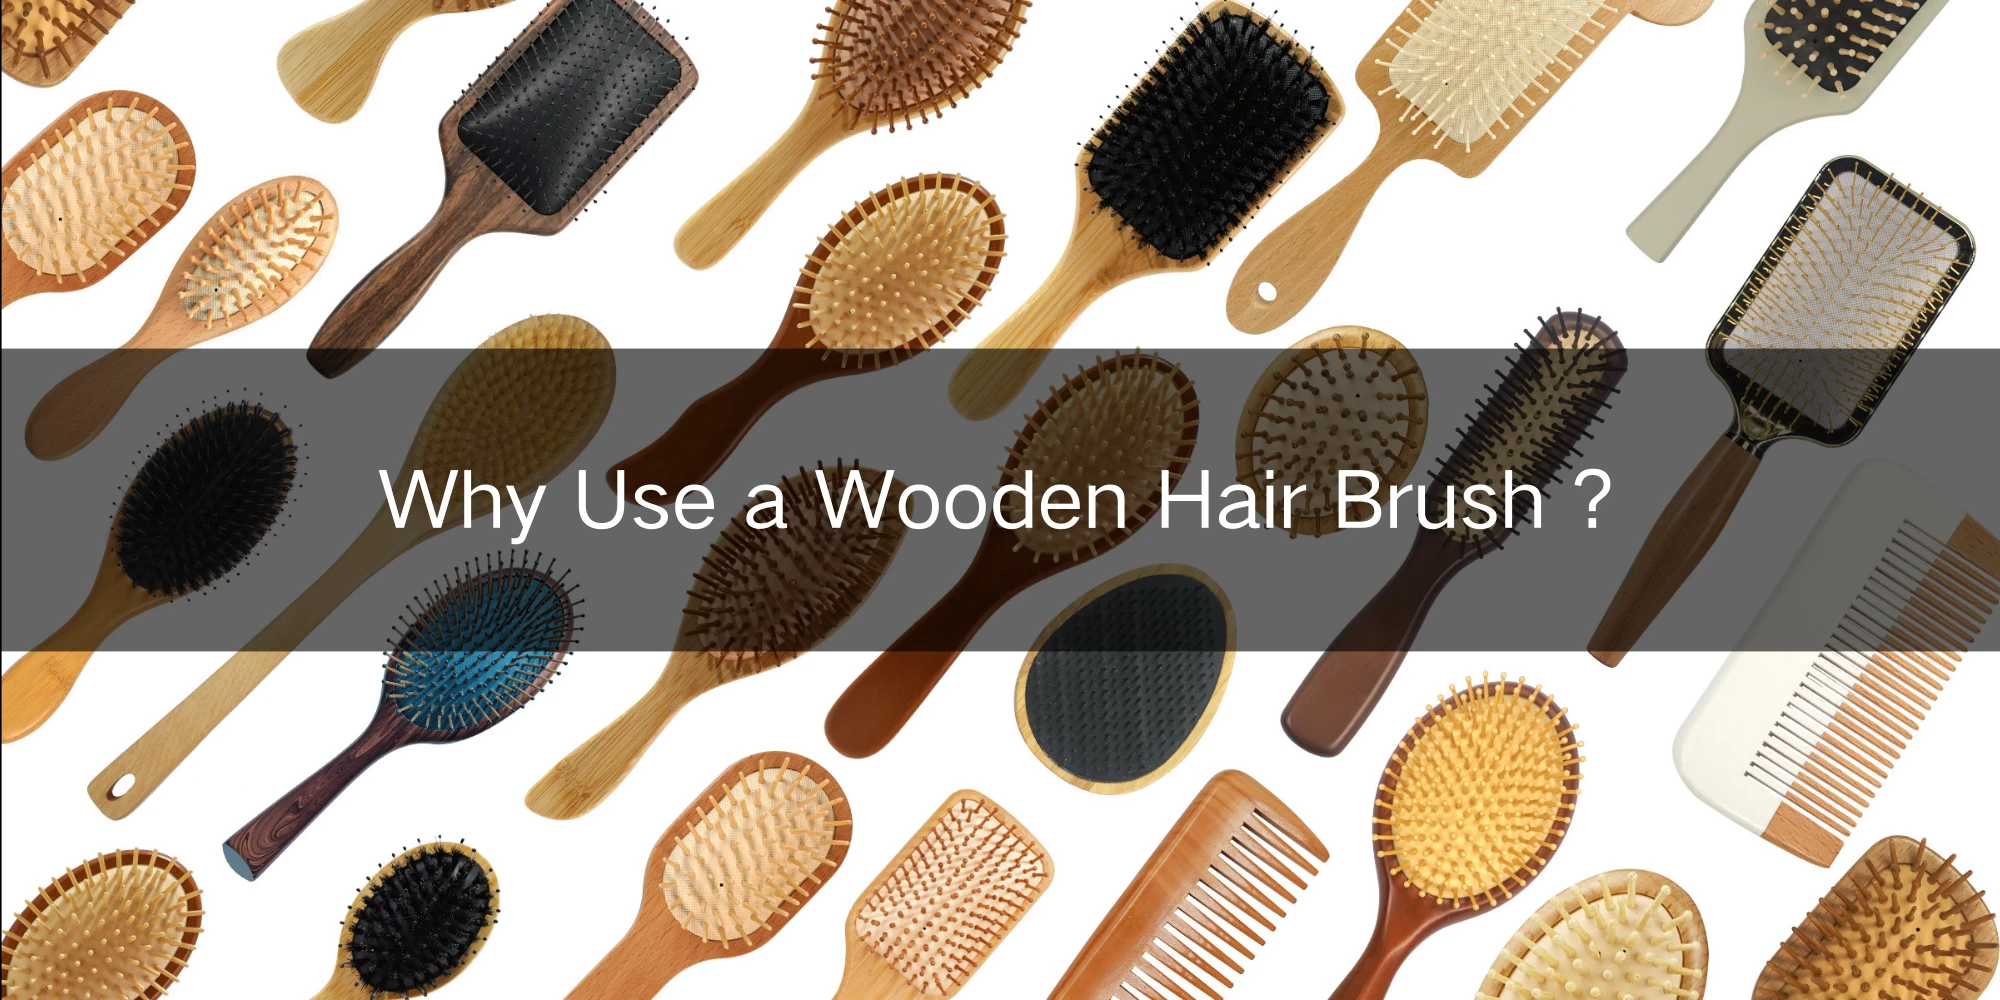
In the competitive beauty tools market, printing a distinctive logo on each hair brush is essential for branding and visual appeal. A quality logo print on a brush handle reinforces brand recognition, helps products stand out on shelves, and lends a sense of professionalism. Manufacturers have many hair brush logo printing techniques to choose from, each yielding different effects. Below we examine the main methods – how they work, what materials they suit, their finished look, durability, cost implications, and pros/cons – so that brands can match printing style to their product and segment.
Screen Printing (Silkscreen)
Screen printing (silk-screening) forces ink through a fine mesh stencil onto the brush handle. It works best on flat or gently curved plastic or metal surfaces. This method produces bold, vibrant colors (even metallic or opaque inks) that stand out on colored or black handles. The printed area is water- and stain-resistant, giving a clean solid finish. However, because it is an ink layer, heavy abrasion or solvents can eventually wear the print away. Screen-printing setup requires custom screens for each color, so it’s most cost-effective for large production runs (low per-unit cost once set up) rather than one-off customization.
- Pros: Bright, eye-catching colors; very durable (resists water and peeling); cost-efficient per piece in high volumes.
- Cons: Fading/wear over time in high-use brushes; each color needs its own screen (higher setup cost); limited to fairly flat areas (not ideal for very small or intricate logos).
Pad Printing
Pad printing uses a soft silicone pad to pick up ink from a recessed (laser-etched) plate and then press it onto the brush handle. It excels at printing small logos on curved, irregular surfaces, which is why about 80% of brush logos use pad printing. This makes it ideal for tapered or ergonomic plastic handles. Multi-color logos are possible by changing plates for each color. The print finish is smooth and sharp, closely matching the original design. Because it relies on ink adhesion, pad-printed logos can gradually fade or scratch off with prolonged wear (especially if exposed to chemicals or rough handling). Pad printing has moderate setup (engraving plates and pads) and works well for medium-to-large batches, and even for smaller customized runs because it doesn’t require bulky screens.
- Pros: Versatile (prints on uneven or contoured surfaces); fine detail possible; supports multiple colors.
- Cons: Prints can wear or smudge over time (not as permanent as engraving); requires plate setup for each design; moderate initial cost.
Heat Transfer Printing
Heat transfer printing (thermal transfer) first prints the logo onto a special paper or film, then uses heat and pressure (a “heat press”) to fuse that image onto the brush surface. This method can deliver full-color, photographic-quality logos or complex artwork in one pass. It typically requires the handle to have a receptive surface (often a coated plastic or metal primer) so the ink bonds well. The result is a smooth, high-resolution image printed right onto the handle. Durability can be quite good if the transfer is properly sealed and coated, but heavy flexing or scratches can eventually peel off parts of the decal. Heat transfer has no tooling cost beyond the printer and press, making it affordable for short runs or one-offs; however, it is slower per piece than stamping methods.
- Pros: Unlimited colors and gradients (photo-realistic logos possible); no screens or plates needed (low setup cost); good for personalized or short-run items.
- Cons: Only works on certain prepared surfaces; the transferred film can peel if not sealed; not as fast for large volumes; requires heat press equipment.
Hydrographic (Water Transfer) Printing
Hydrographic printing (also called water transfer printing) applies an image over the entire 3D shape of the brush. A printed film floats on water, then the brush is dipped so the ink wraps around its contours. This technique can decorate metal, plastic, wood – virtually any hard handle – with seamless, full-wrap graphics. Complex patterns or multi-color artwork (camouflage, floral, logos across the whole handle) are possible. When properly clear-coated, hydrographic designs can be very durable (often 5–15 years lifespan under normal handling). The trade-offs are cost and complexity: this process needs significant setup (paint primer, dip tank, clear coat) and is not practical for simple single-color logos. It’s best reserved for custom or high-end runs where a unique, all-over finish is desired.
- Pros: Can cover any shape and surface; produces complex, photorealistic graphics on the entire handle; once finished, print is long-lasting (with clear coat protection).
- Cons: Very high setup and unit cost; overkill for basic logos; requires base painting/priming and a dip process; slower throughput.
Laser Engraving (Marking)
Laser engraving (laser marking) uses a focused laser beam to etch the logo into the brush material. On wooden or bamboo handles, the laser burns a dark imprint; on metal ferrules or hard plastic, it changes the surface color to a contrasting tone. The result is a permanent, high-contrast logo that is actually part of the material. Laser marks are “indelible” – they will not fade, chip, or wear off with handling. In fact, UV-laser markings are “permanently resistant to fading, smudging, and wear.” This makes laser engraving ideal for premium brushes intended to last a long time. Drawbacks are that color is usually limited to monochrome (material-dependent) and the surface should be fairly flat or cylindrical. Equipment cost is high, but there are no inks or consumables. Lasers are great for both medium and small batches since changing the design is just a matter of software.
- Pros: Truly permanent, high-precision logos; very high durability (withstands time and pressure); no ink or materials needed per piece.
- Cons: Typically one-color/monotone (no bright colors); best on wood, metal or special plastics; expensive equipment; not ideal for extremely detailed color graphics.
Hot Stamping (Foil Stamping)
Hot stamping uses a heated metal die to press a metallic foil onto the brush surface. This transfers a thin layer of gold, silver or colored foil in the shape of the logo. The result is a shiny, metallic logo that looks embossed and very upscale. Foil stamping is suitable for wood or plastic handles (and even paper tags). The finish is luxurious – brands note that hot-stamped logos “look more luxurious and last much longer” than regular ink prints. The foil is bonded firmly, but heavy scratches or bending can flake it off over time. Each foil color requires its own die and press, so this method is best for medium-to-large runs of a single design. It’s often used on premium salon brushes or on packaging.
- Pros: Premium, eye-catching metallic finish (gold, silver, etc.); good durability for a foil (better than ink print); tactile and luxurious feel.
- Cons: Limited to foil colors (usually one per process); requires custom metal die (setup cost); foil can wear off with extreme abrasion or flexing; not suited to multi-color logos in one step.
UV Digital Printing
UV digital printing uses inkjet heads with ultraviolet-cured inks to print directly onto the handle. Because the ink is cured instantly by UV light, it can adhere to many substrates (plastic, wood, metal). This method supports full-color, photo-quality logos and artwork on demand. The finish is typically glossy (an overcoat is applied) and very vivid. UV prints are generally water-resistant and durable under everyday use. However, without extra protective coatings, prolonged sun exposure or constant abrasion can slowly fade or scratch the print. UV printing has virtually no setup cost (just artwork), so it’s excellent for custom, short-run or multi-design jobs. The downside is that per-unit printing time is longer than simple stamping, and high-end UV printers and inks are expensive.
- Pros: Unlimited colors/designs in one step; photo-realistic logos; no plates/screens needed (great for customization); generally good outdoor durability when coated.
- Cons: Expensive equipment and ink; ink sits on surface (may need coating) and can slowly wear or fade under harsh conditions; slower for very large quantities.
Ideal Methods by Product Segment
- Mass-Market Hair Brushes: For inexpensive, high-volume brushes (usually plastic), pad printing or screen printing is ideal. These methods keep per-piece costs low while delivering clear one- or two-color logos. Basic foil stamping in a single color can also be used for a hint of shine.
- Premium/Salon Brushes: High-end brushes (often with wooden handles or metal ferrules) benefit from upscale techniques. Laser engraving on wood or hot-foil stamping (gold/silver logos) projects a luxury image. UV digital prints on quality materials can also add vibrant multi-color logos on premium plastic handles. These methods create a professional look that justifies a higher price.
- Custom/Gift Brushes: For limited-edition or gift items, full-color and all-over designs can make the product stand out. UV digital printing allows custom full-color logos and graphics on any brush. Hydrographic (water transfer) printing can even wrap patterns around the entire brush. Foil stamping or laser engraving can add a personal touch of elegance (e.g. a customer’s name in gold foil).
Ultimately, effective hair brush logo printing means choosing the right technique for the material, volume and brand image. Low-cost methods like pad/screen printing work best for mass-market handles, while permanent options like engraving or foil stamping suit high-end lines. Full-color digital or hydrographic processes shine in custom or limited runs. By understanding each method’s process, finish and durability, manufacturers can pick the logo-printing solution that matches their brush design and customer segment.